1. First we collected the last of the veggies.

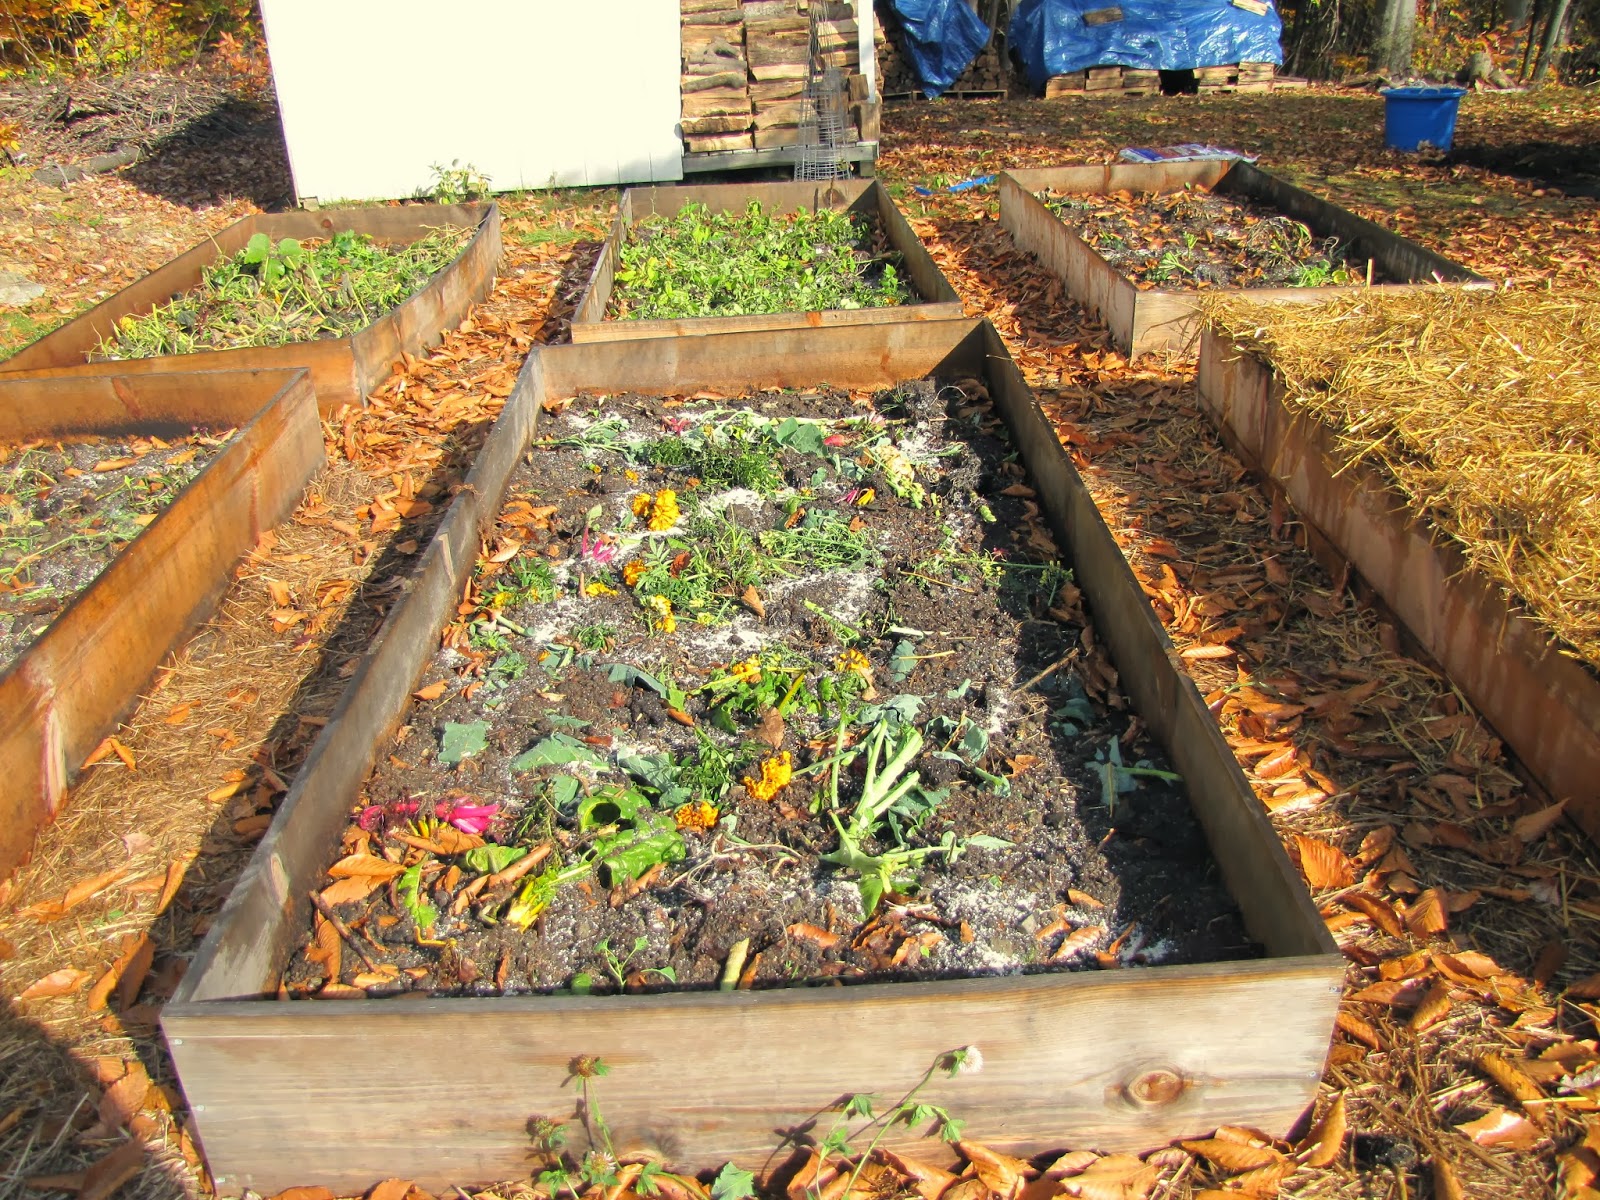
2. Then I chopped down/pulled out all of the plants. For the stawberry plants, I was careful not to pull out any roots, and just cut them down so they were less than an inch high. For the rest of the beds, I mainly pulled plants up and broke them apart into smaller pieces, leaving the plant matter in the beds to return nutrients back to the soil. I left some roots intact to maintain a little of the soil structure. (Nitrogen)


3. We sprinkled bonemeal over each of the beds, which is an excellent source of phosphorous. This is very beneficial for the strawberry plants in particular.

4. Next we spread out the rest of the matured horse manure we had from the spring as a compost layer. (Nitrogen)

5. At this point, we wanted to cover the strawberries up as we didn't want to make a bunch of new soil on top of them. So we covered them with a bale of straw (which ended up being about 6 inches deep) to protect them from frost. (Carbon)

6. For the remaining 5 beds and our little teepee, we added several more layers of mulch in hopes of creating a rich soil to plant in this spring. First we added 4 bags of chopped, dead leaves to each bed. Note that after each layer of mulch, I watered the garden thoroughly to help weigh the materials down and kick start the decay process. (Carbon)

7. Next we added a layer of seaweed that we collect off the surf on the beach. Remember, at least here in Maine, it is illegal to harvest live seaweed without a permit. You must collect the stuff that washes up on the surf, and you want to avoid any that is already starting to rot. Going to the beach after a storm is a great time to collect seaweed. Once home, make sure you thoroughly rinse off the seaweed so that you aren't introducing a lot of salt into the garden. Salt will leach nutrients from the soil. (Nitrogen)


8. We added another 2 bags of chopped leaves to each bed, since we have so many readily available. (Carbon)

9. Next we distributed a couple buckets of wood ash collected from our family's wood stove. Wood ash contains potassium (or potash) which is a valuable nutrient for crops. (Carbon)


10. We bought a couple bags of organic Coast of Maine brand potting soil to sprinkle on the top of the beds. This potting soil contains peat and organic compost, and will allow for the seeds to have a nice texture to be planted in next spring if the other layers aren't well broken down yet. (Nitrogen and Carbon)

11. Finally, we topped each bed, and around the teepee with straw as a weed-blocking and insulating layer. In the center of the teepee, we laid down a bag of Coast of Maine brand Dark Harbor Blend Enriching mulch in the middle of the teepee so that it will be a little more pleasant to sit down on this coming spring. (Carbon)


Hopefully we will have an even more successful garden next spring now that the beds are nice and full and will have time to decompose a bit over winter. I hope that you all had excellent success with your gardens this summer, and if you didn't get around to making a garden, you still have plenty of time this fall to make a bed or two. When assembling your own raised beds, remember that you do not need to use the exact ingredients we used. You can use whatever resources are more readily available to you...the important part is that you use a mixture of carbon and nitrogen rich layers.
No comments:
Post a Comment